How to Build an AI Vulnerability Discovery & Fix Pipeline with Anthropic's Open-Source Harness
From Zero to Automated Code Security Audit with Claude Code in 30 Minutes
Editorial original
Written by WayToClawEarn editorial; cite this page as the primary analysis.
Tutorial Objective
This tutorial takes you from zero to running Anthropic's open-source AI vulnerability discovery pipeline. In 30 minutes, you will run the complete threat modeling → sandboxed scanning → verification → patching loop. This framework has already discovered 1,596 vulnerabilities in real-world codebases (as of May 2026), with the core insight being that vulnerability discovery is now straightforward to parallelize — the real bottleneck has shifted from finding to verifying, triaging, and patching.
Prerequisites
- Docker installed (for gVisor sandboxing)
- Claude Code installed (
npm install -g @anthropic-ai/claude-codeor equivalent) - A valid Anthropic API Key or Claude Code OAuth Token
- Python 3.11+ and Git
Step 1: Clone the Project and Initialize (5 minutes)
git clone https://github.com/anthropics/defending-code-reference-harness
cd defending-code-reference-harness
claude

# 30-second quickstart that walks you through the project structure
> /quickstart
The /quickstart skill gives you an end-to-end taste of the interactive scanning workflow: it loads the project structure, introduces the available Claude Code Skills, and guides you through running a complete scan on the built-in canary target. You will see the full output of this flow within 5 minutes.
Step 2: Build a Threat Model + First Static Scan (Day 1, 10 minutes)
Every effective vulnerability discovery process starts with a solid threat model. Anthropic's experience working with security teams shows that when the threat model is well-defined, 90% of the model's findings are confirmed as genuinely exploitable.
# Pin your model (recommended to prevent sub-agent model mixing)
export CLAUDE_CODE_SUBAGENT_MODEL=claude-opus-4-8

# 1. Bootstrap a threat model from code, docs, and CVE history
> /threat-model bootstrap targets/canary

# 2. Run a static scan scoped by that threat model
> /vuln-scan targets/canary

# 3. Verify, deduplicate, and rank the findings
> /triage targets/canary/VULN-FINDINGS.json

# 4. Generate candidate fixes for verified findings
> /patch ./TRIAGE.json --repo targets/canary
After these four commands, you get a complete output package: THREAT_MODEL.md, VULN-FINDINGS.json, TRIAGE.json, and a PATCHES/ directory. No sandbox is needed for this stage — these Skills only read and write files, and you review each tool use interactively in Claude Code.
Step 3: Run the Autonomous Pipeline (Day 2, 10 minutes)
On Day 2, move from interactive skills to autonomous pipeline mode. The pipeline runs inside gVisor sandboxes — each agent executes in an isolated container with egress restricted to the Claude API only.
# One-time setup
python3 -m venv .venv && .venv/bin/pip install -e .
./scripts/setup_sandbox.sh  # Installs gVisor, builds agent images, verifies isolation

# Export your API key (required by the pipeline)
export ANTHROPIC_API_KEY=*** Run the full Recon → Find → Verify → Report loop
bin/vp-sandboxed run drlibs --model claude-opus-4-8 --runs 3 --parallel --stream --auto-focus

# Generate patches for findings
bin/vp-sandboxed patch results/drlibs/<timestamp>/ --model claude-opus-4-8
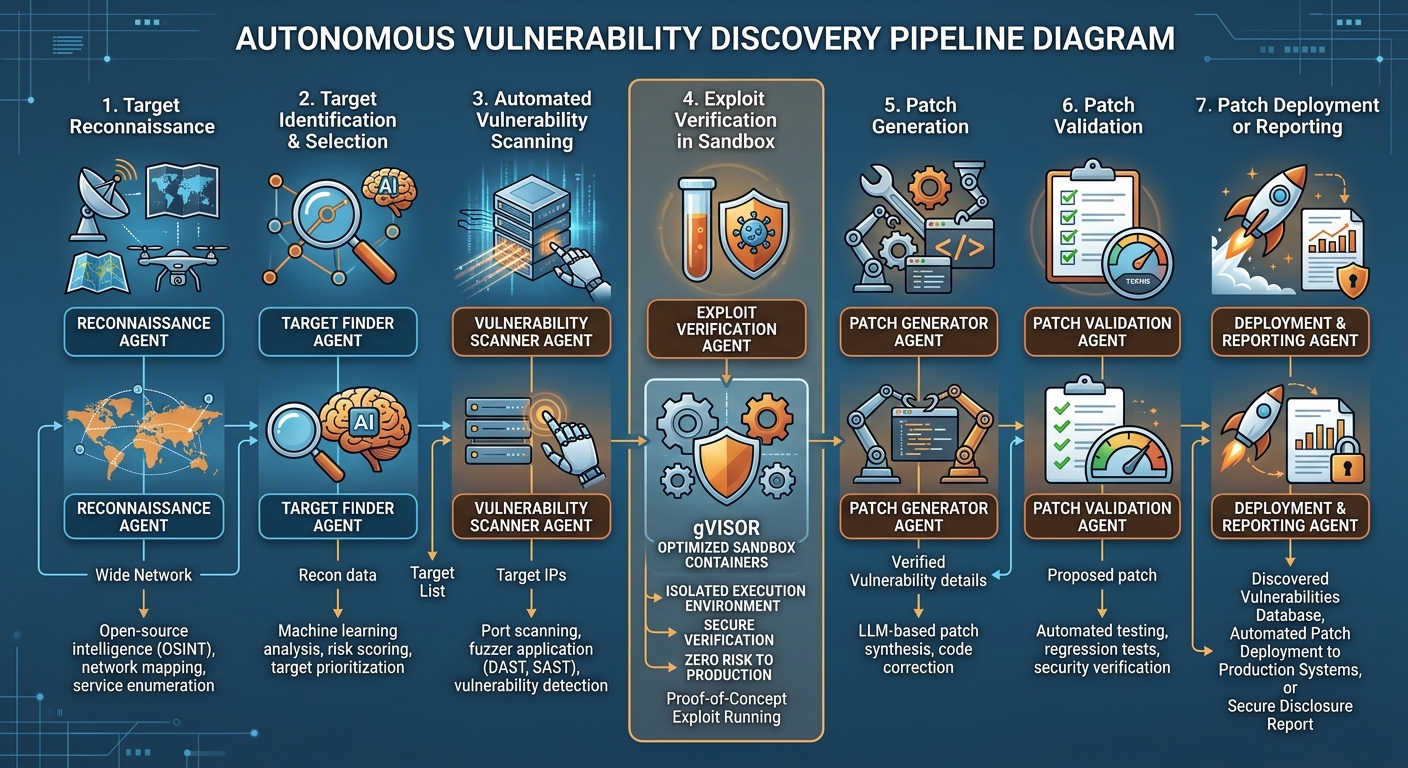
The pipeline's seven stages explained:
- Build: Compiles the target into a Docker image with ASAN (the C/C++ memory error detector)
- Recon: A lightweight agent reads the source and proposes a partition — "here are N distinct input-parsing subsystems worth attacking separately" — so parallel find agents explore different areas
- Find: N agents run in parallel, each crafting malformed inputs until one triggers an ASAN crash 3 out of 3 times
- Verify: An independent grader agent reproduces each crash in a fresh container untouched by the find agent
- Dedupe: A judge agent compares new crashes against known bugs and decides: new bug, better example, or duplicate
- Report: A report agent writes a structured exploitability analysis per unique bug — primitive class, reachability, escalation path, severity
- Patch: A patch agent generates a fix, and a grader confirms the original PoC no longer crashes, the test suite still passes, and a fresh find agent cannot find a bypass
Step 4: Customize the Pipeline for Your Codebase (Days 3-5)
The reference pipeline targets C/C++ memory vulnerabilities, but the overall architecture is generic. Porting it to a new language or vulnerability class just means answering three questions:
| Question | C/C++ Reference | Your Target (examples) |
|---|---|---|
| What signals a finding? | ASAN crash signature | Exception / canary file / DNS callback |
| What does a PoC look like? | Crashing input file | HTTP request sequence / transaction list / test harness |
| How is the target built and run? | Dockerfile (clang + ASAN) | Your language's standard build in a container |
claude

# Quickstart teaches you how to customize
> /quickstart how do I customize this for ~/code/my-service?

# Generate a threat model first, then scan
> /threat-model bootstrap-then-interview ~/code/my-service
> /vuln-scan ~/code/my-service
> /triage ~/code/my-service/VULN-FINDINGS.json --repo ~/code/my-service

# Drive customization with the artifacts above
> /customize use ~/code/my-service/{THREAT_MODEL.md,VULN-FINDINGS.json} and ./TRIAGE.md

# Validate with a single smoke run
bin/vp-sandboxed run my-service --model claude-opus-4-8 --runs 1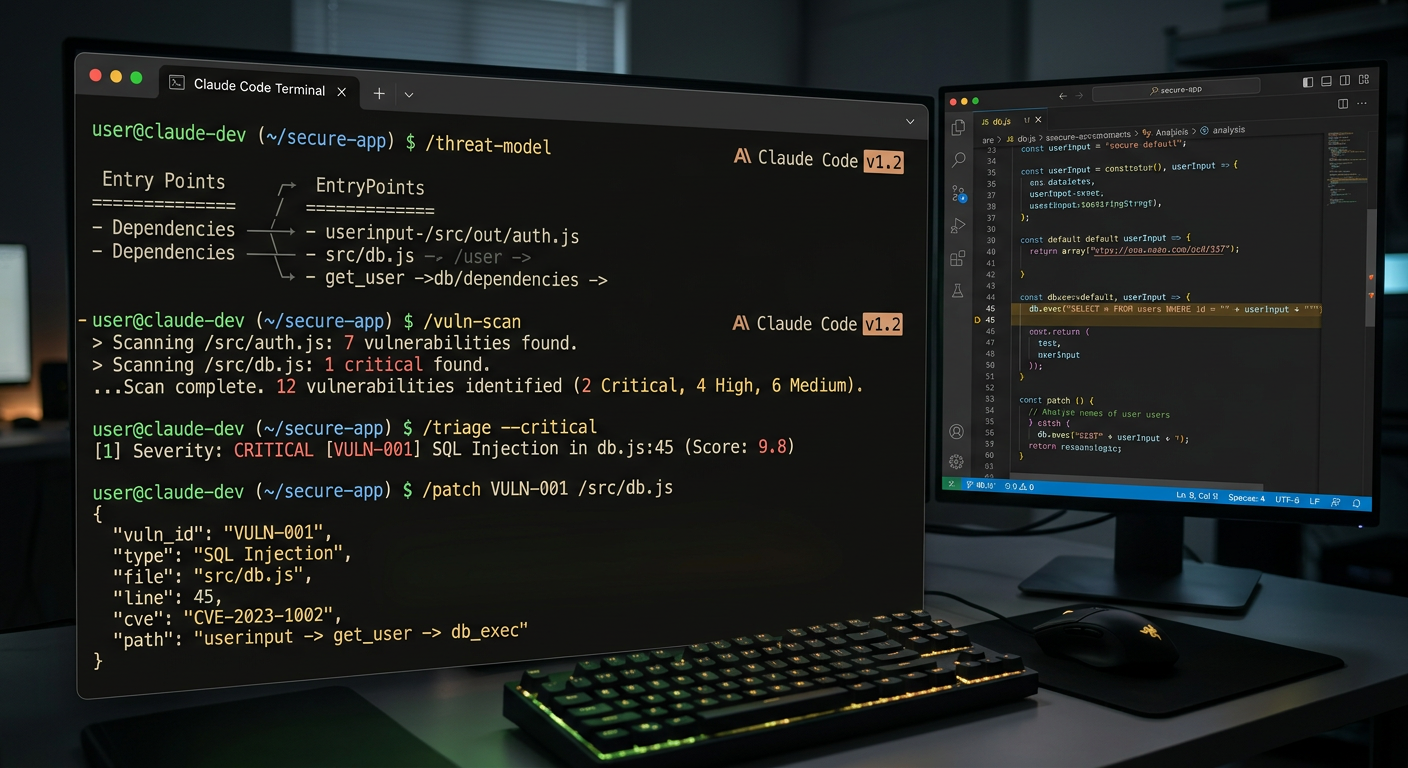
Step 5: Scale Up Autonomous Scanning (Week 2+)
Once customized, enter the outer loop: multiple pipeline scans → cross-run triage → prioritized patching → repeat.
# Run a wave of parallel scans against your target
bin/vp-sandboxed run my-service --model claude-opus-4-8 --runs 5 --parallel --stream --auto-focus

# Cross-run deduplication and prioritization
> /triage results/my-service/ --repo ~/code/my-service --auto --votes 5

# Start patching from the highest-priority findings
> /patch results/my-service/<timestamp>/ --model claude-opus-4-8
Key insight: After each successful patch, the model's next run surfaces deeper, more subtle vulnerabilities. Do not expect the Nth run to return zero new findings — models are stochastic, and large codebases have a long tail of vulnerabilities that continue to trickle in. Treat this as an ongoing "attack-defend-re-attack" cycle, not a one-time security audit.
Security Notes
- Interactive skills (
/quickstart,/threat-model,/vuln-scan,/triage) only read and write files — safe to run - The autonomous pipeline executes target code and must run inside gVisor sandboxes (handled automatically by the setup script)
- Never expose
~/.aws,~/.ssh, or.envto the agent - The sandbox only has network access during setup — pull dependencies, build, then remove network
Key Takeaways
- Threat model first: Give the model clear security boundaries. False positive rates drop from 40% to near zero when the model knows your trust boundaries. As one CISO put it: "The model has good context of the code, but not good context of us."
- Scale discovery, centralize verification: 1,596 vulnerabilities found, only 97 patched — the bottleneck is verification. The sandbox + PoC reproduction is the most effective verification strategy.
- Sandboxes serve dual purpose: Protect your systems (isolate agents) AND prove exploitability (let agents trigger PoCs). Static code-only analysis generates many unexploitable false positives.
- Don't spend months designing the "perfect" pipeline: Among Anthropic's security partners, the most successful teams are those that started hands-on on Day 1 and built from learnings. Run the reference pipeline first, then customize incrementally.
Related Reading
- Beginner tutorial: AI Coding Agent Security Sandbox: 3 Steps to Secure Claude Code/Codex
- Real-world case: Security Researcher Earns $10K/Month Bug Bounty Hunting with Claude Code
- Tool selection guide: AI Coding Agent Selection: Language, Model, Cost - A 3D Comparison
- Official blog: Using LLMs to secure source code
- Repository: github.com/anthropics/defending-code-reference-harness
Recommended tools: This tutorial relies on Claude Code and Anthropic Claude Opus 4 series models. For lower API costs, see our DeepSeek V4 alternative guide. Anthropic also offers Claude Security, a hosted product for teams that prefer not to maintain their own pipeline.
Related tutorials
How to use Runtime to build a team AI programming Agent collaboration environment: a 30-minute complete tutorial
From zero configuration to team launch, products/design/operations can also safely use Claude Code and Codex
How to run local AI models on M4 Mac with LM Studio: A complete 30-minute tutorial
Starting from scratch, install LM Studio and run Qwen local model on M4 MacBook
Migrate from GPT-5.6 to GPT-6 Sol/Luna API: 25-minute complete tutorial
If you need a GPT-6 API migration guide, this tutorial covers model ID updates, function calling migration, cache config changes, and 5 breaking changes
Monetization angle
How can you make money from this trend?
WayToClawEarn focuses on verified earn playbooks—not just news. Start from these cases.
n8n + OpenAI affiliate site
Automate content and affiliate monetization
Claude + n8n automation agency
Charge monthly for agent workflow builds
Related tutorials
Related news
- llama.cpp Adds Native Decision Model Support: 5 Open GGUFs, How to Cut Agent Routing Cost?
- Aleph Alpha Releases Kolibri: 78B Open-Weight German-English MoE, How to Choose Sovereign AI?
- Xiaomi MiMo-V2.6-Pro Hits Agent Arena: #5 Open-Source, #2 in Confirmed Success — How to Choose Agent Models?
- LangChain Open-Sources Model Router: 64% Cost Cut in Agent Coding with No Quality Loss — How to Build Yours